
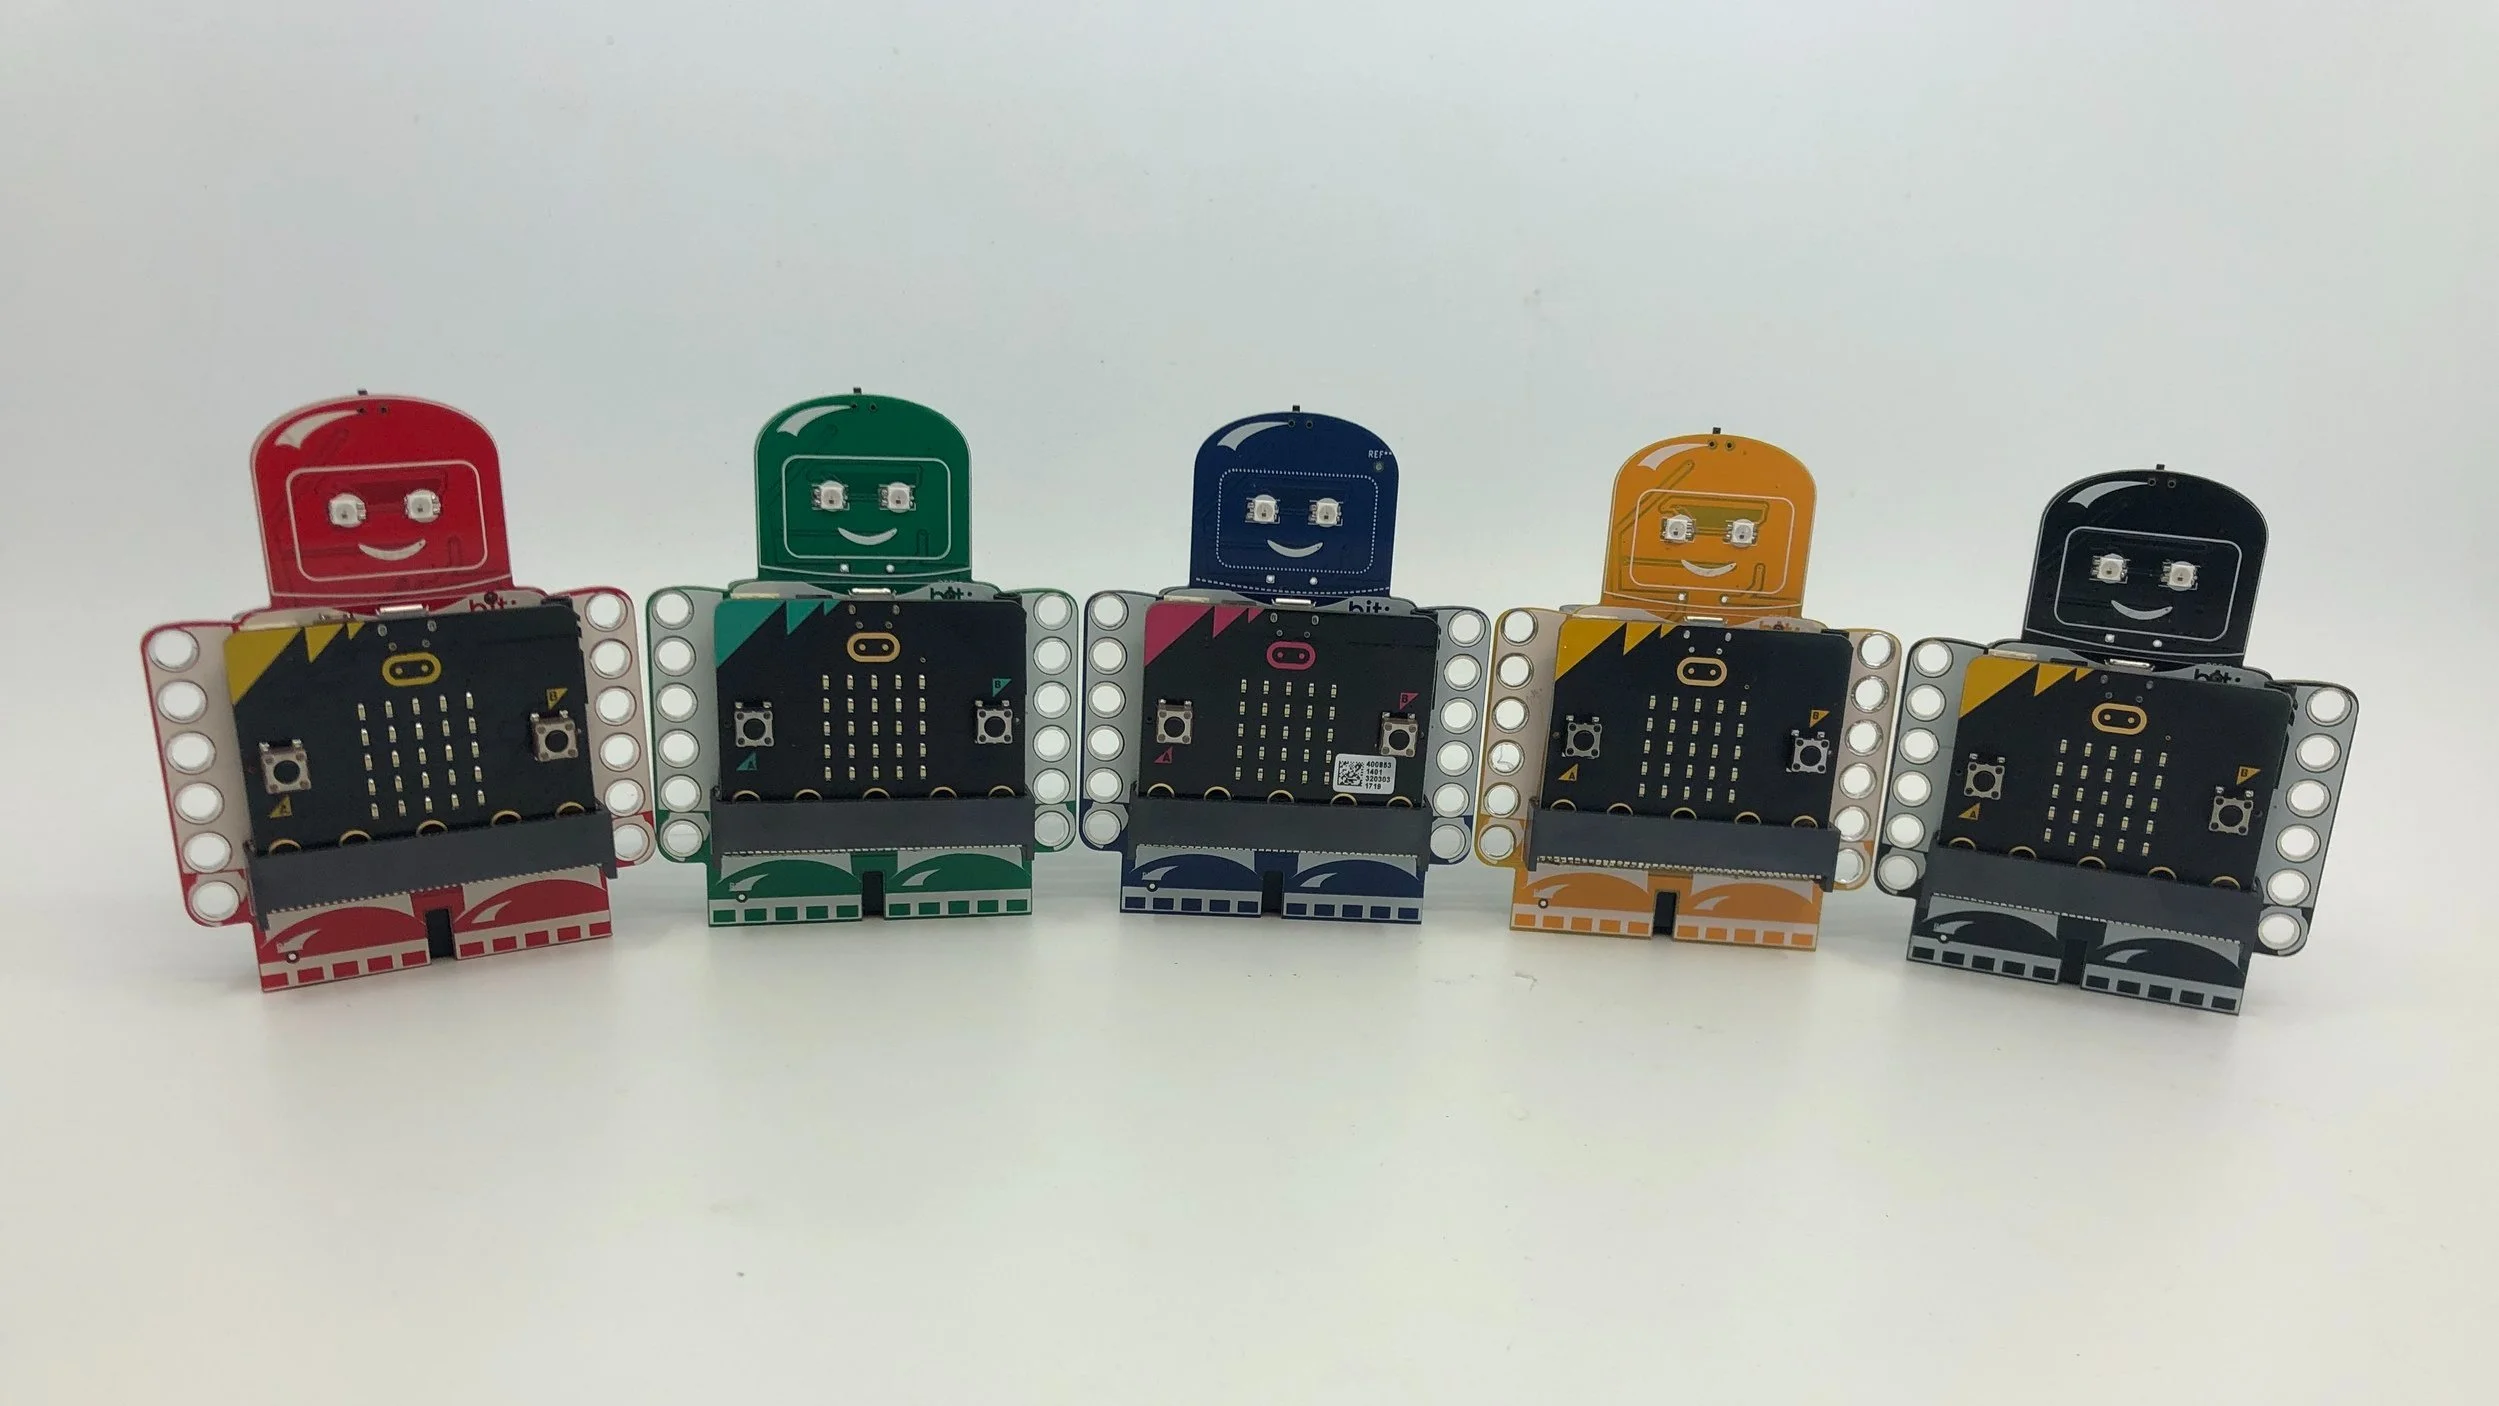
Coding is a journey, make exploring fun!
The bit:explorer is the perfect companion for exploring coding through making. The bit:explorer was designed around the principle of low threshold, no ceiling… and fun! Whether you are a beginner or a power user, the bit:explorer is the only board you need to get the most out of the micro:bit.
Physical Computing and Games
Wearable Tech
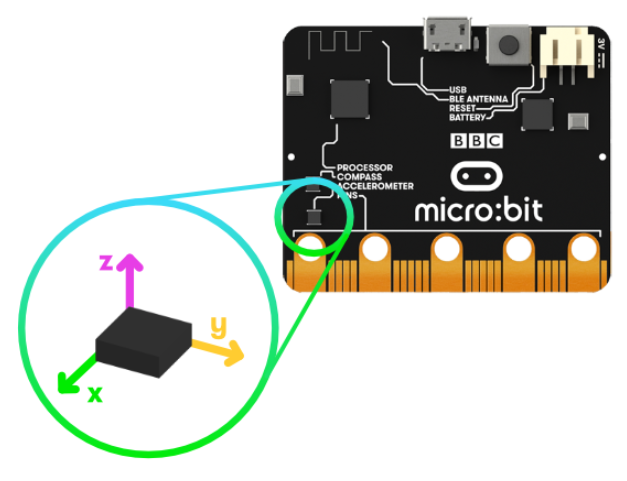
The micro:bit’s built in accelerometer lends itself to exploring lots of exciting wearable tech projects.
The step counter project is a great starting point and this document provides some ideas for exploring things in greater depth.
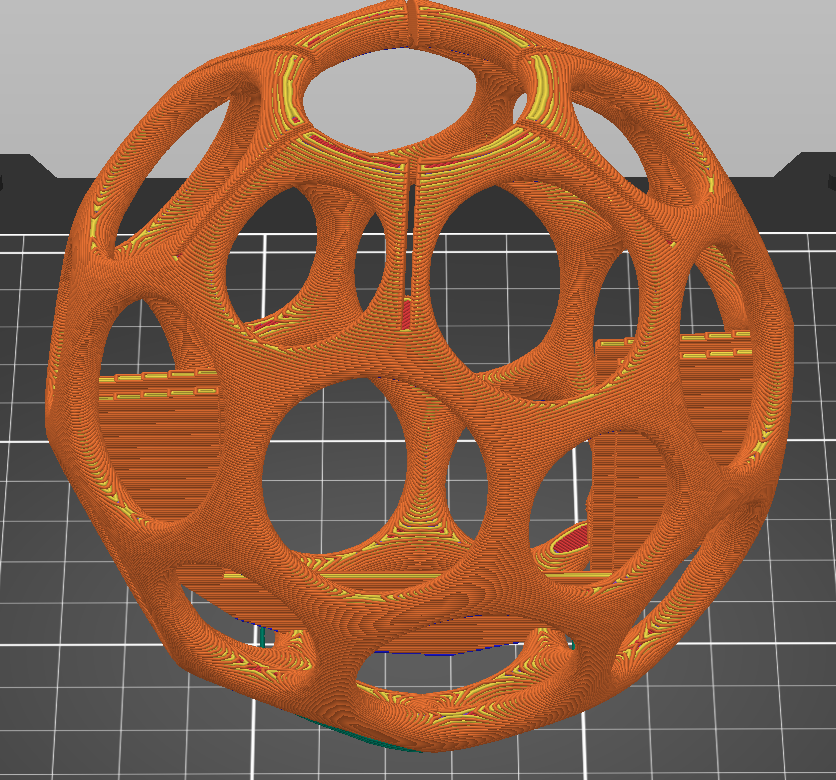
Have a Ball!
This 3D printed ball provides students an engaging form factor to explore various programming concepts that take advantage of the onboard gyro/magnetometer/accelerometer, lights and sound. Sample projects include:
GAMES
Count catches without dropping the ball.
Create a game of hot potato
Design a magic 8 ball
Design a game where balls interact with each other…
PHYSICS
How much force is put on the ball when it is caught vs. dropped?
How can we influence the force on the ball?
What can we learn from logging the real time data from the accelerometer?
Robotics
The bit:explorer makes robotics easy with built-in servo connections. Start simple with a talking robot that only uses one motor then keep expanding with additional motors and sensors. Here are some ideas to get started with:

Talking Robot
Take advantage of the micro:bit’s built in sound sensor to make a lip-synching robot. This is great starter project because both the build and code can start very simple but both lend themselves to endless creativity and imagination. A good place to start is with Cecilia Hillway’s Instructable.
Only materials needed are a positional servo motor and you bit:explorer and micro:bit. Recommended materials are glue dots, canary cutters, and craft materials.
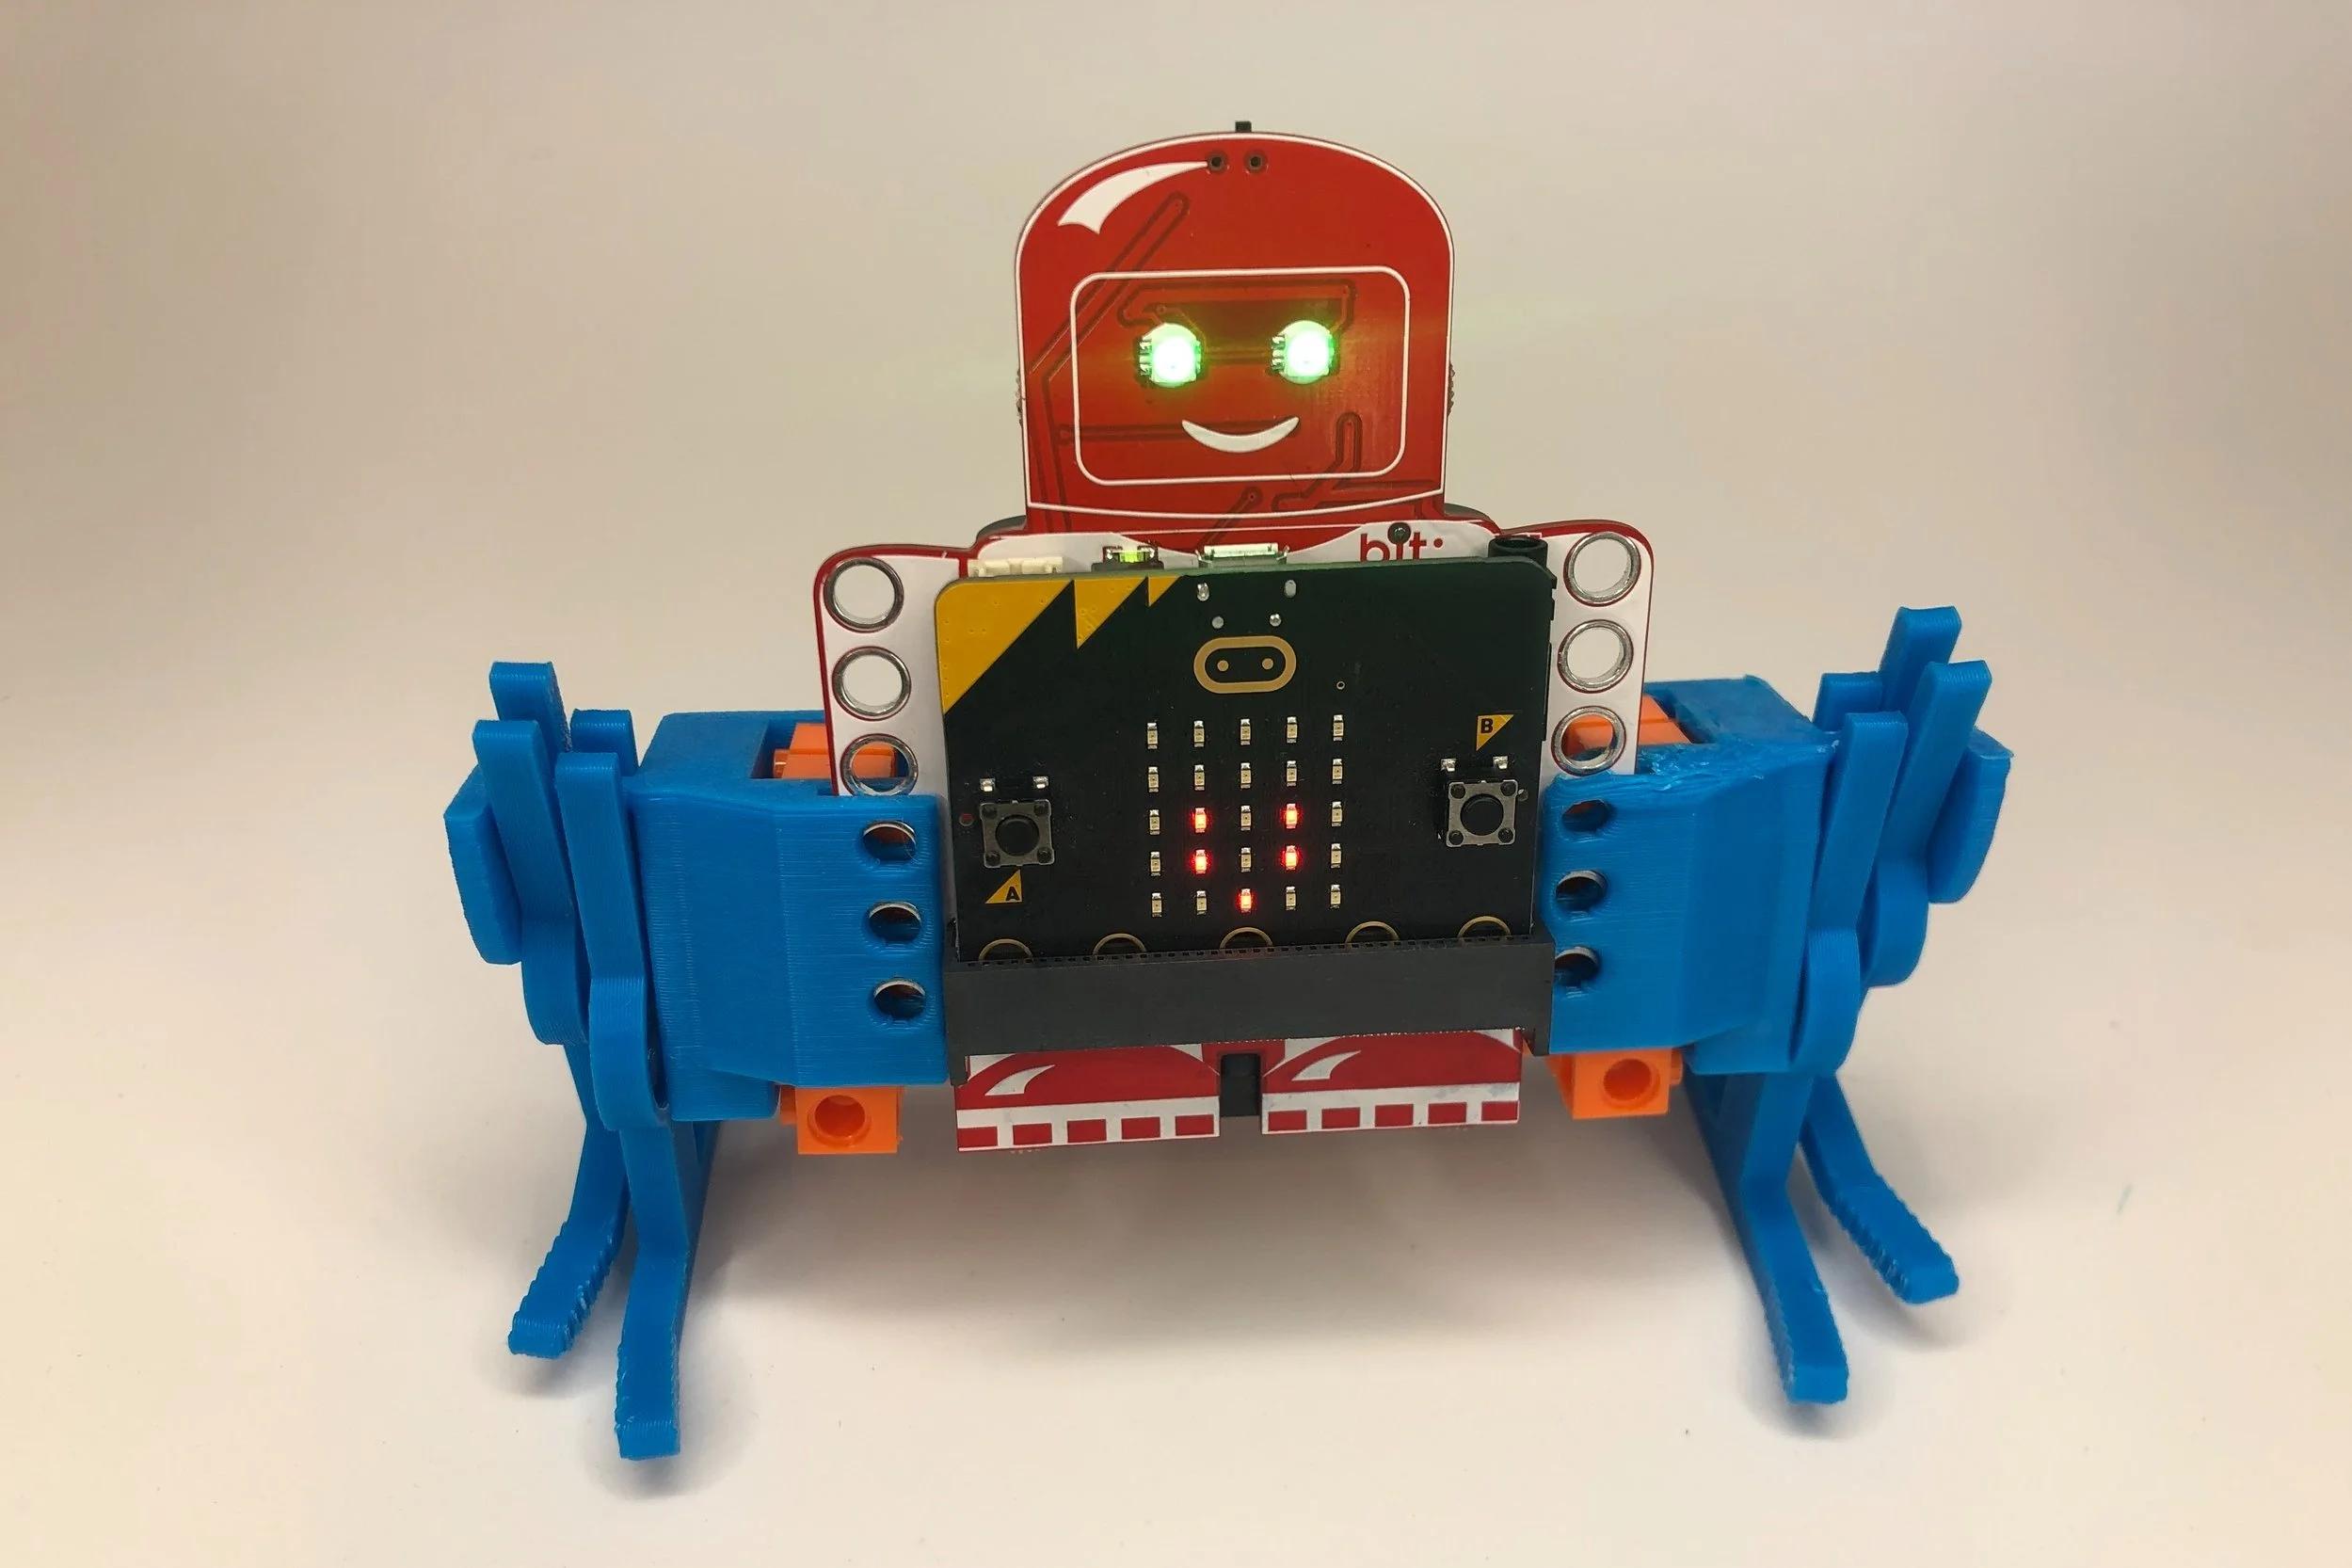
Walking Robot
Take your bit:explorer for a walk with 2 continuous servos and this fun 3D Printed project. Files and instructions can be found on Thingiverse.
Do you have another bit:explorer or Makey:bit and a Mission Control? Here’s some sample code you can use for the Mission Control. Control the robot itself with this code.
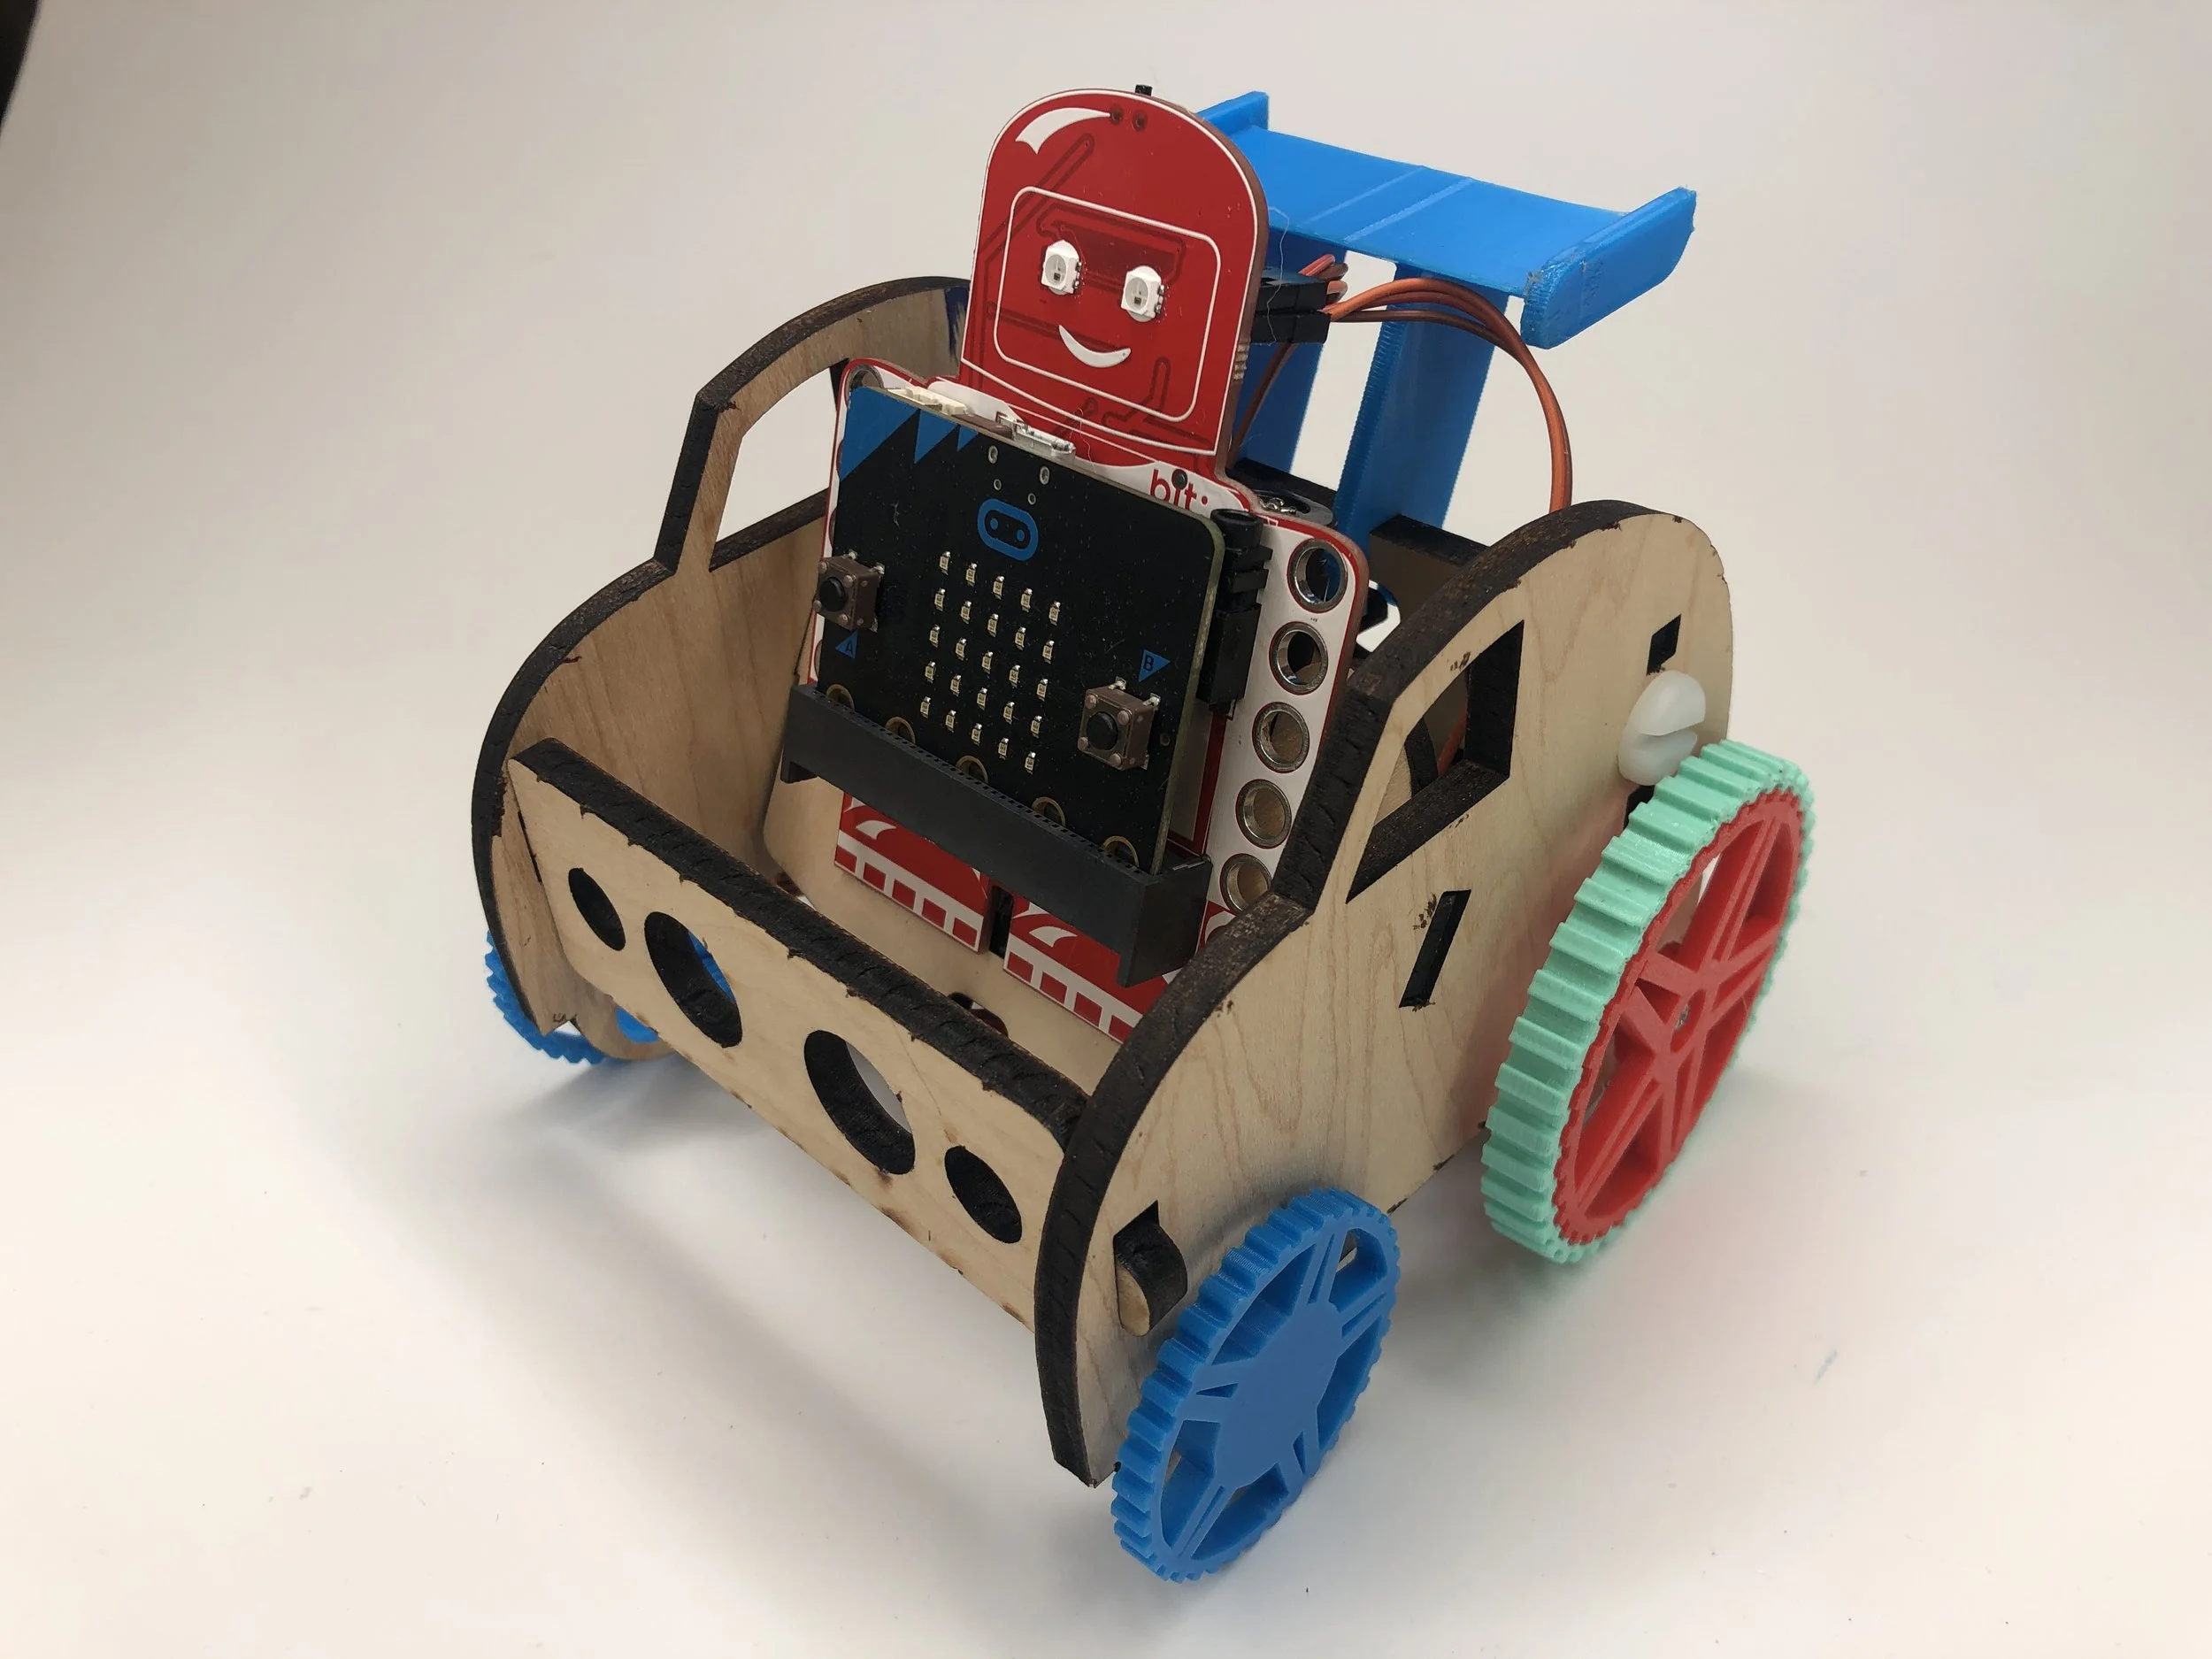
Buggy
If you have access to a laser cutter, why not make a simple car for your bit:extplorer. This version has 3D printed wheels (spoiler and front wheels are optional).
Laser Cutter File: Buggy
3D Printing Files (on Tinkercad): File Rear Wheel, Rear Wheel Tread (TPU or softer recommended), Front Wheel, Front wheel (marble option), Spoiler.
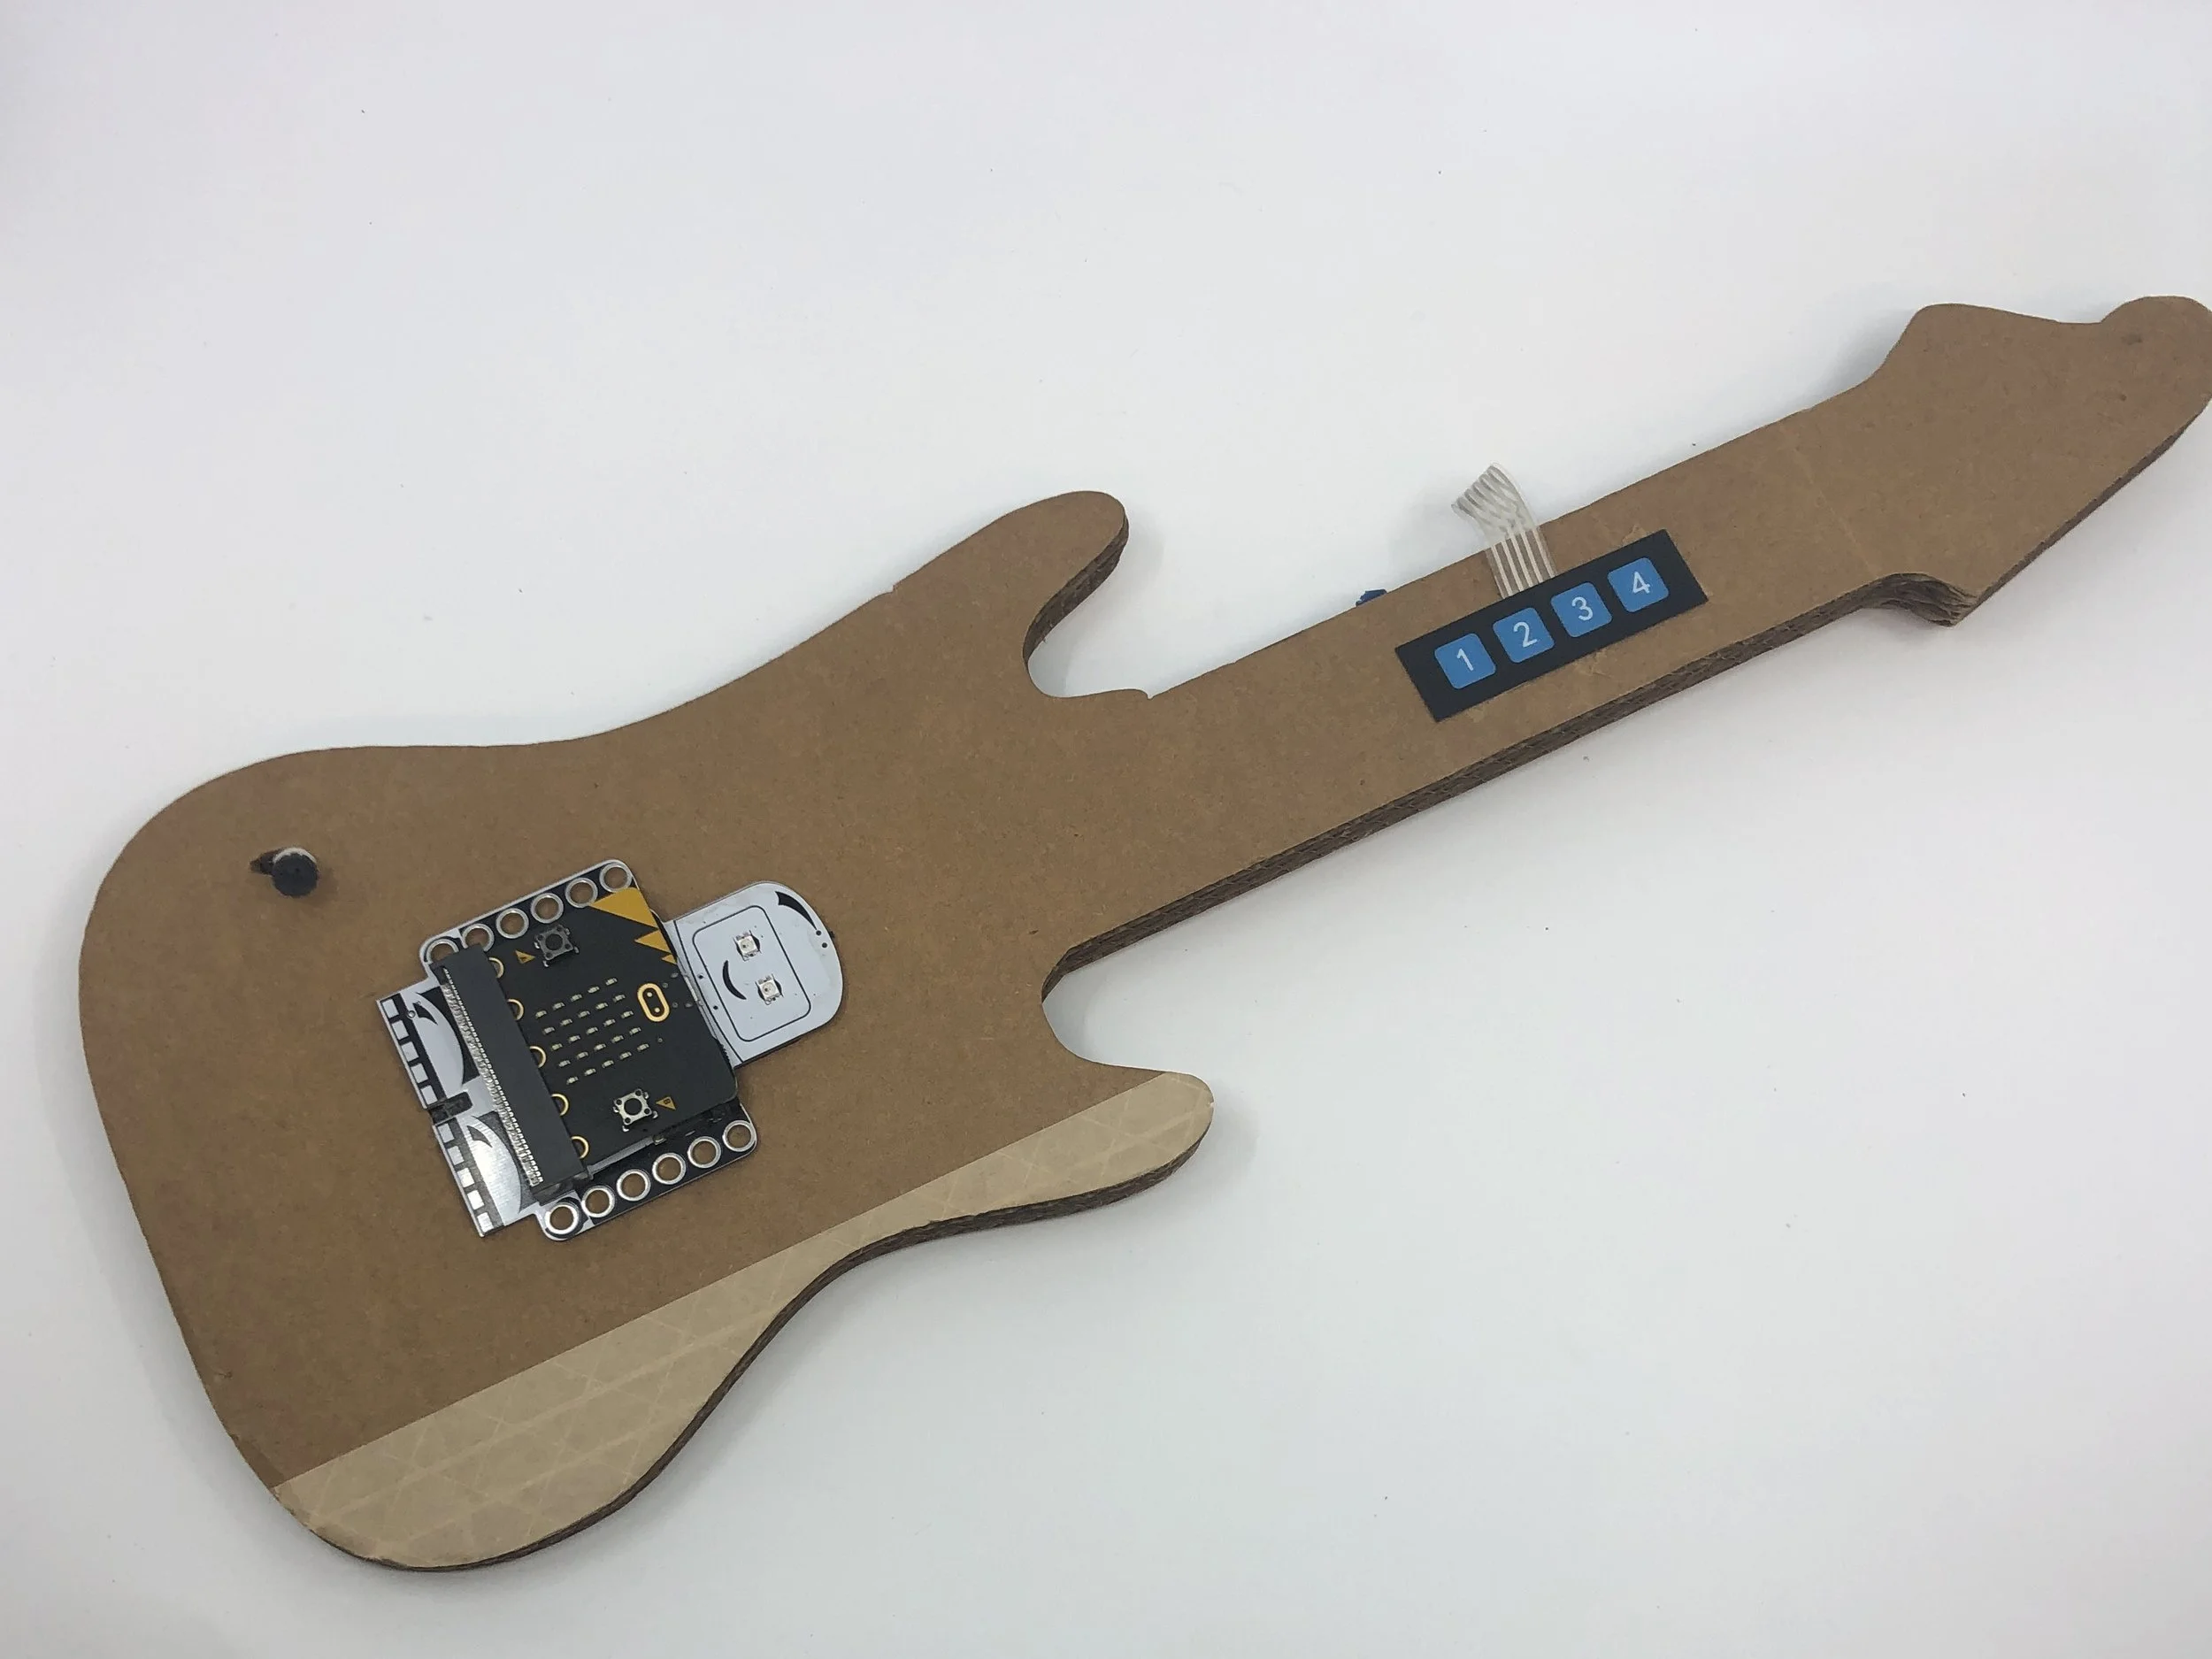
Guitar Project
Build a guitar that plays 4 power chords. This project is based on this wonderful Inventables project by Nasha Dzurny
Parts List: 4 Button Keypad, Male-Female Pin Wire, Guitar Body Template,
Follow this link for the MakeCode Code
Build your Way
The bit:explorer is designed for makers. It aligns with LEGO and the compact form factor, with multiple connection, options make it easy to build projects with most common building materials.